Curtain Hanging Calculator & Visualizer
--
Total Rod Width
(+ -- in each side)--
Mount Height Above Window
Optimal for ceiling height--
Total Fabric Width Needed
2x-3x fullness ratio--
Recommended Rod Diameter
Use metal bracketsThere is a specific feeling you get when you walk into a room that just feels... off. The furniture is nice, the colors match, but something is wrong. Nine times out of ten, the culprit is the curtains. We’ve all seen it: those sad, droopy fabric panels that make a beautiful window look like an afterthought. It’s frustrating because curtains are supposed to be the frame for your view, not a distraction from it.
Hanging curtains seems simple enough. You drill some holes, screw in brackets, and slide on a rod. But the difference between a DIY job that looks like it came from a catalog and one that looks like a mistake often comes down to millimeters and angles. If you’re about to pick up a drill, pause. Let’s look at the most common pitfalls people fall into and how to avoid them so your windows actually elevate the room.
The "Hugging the Window" Error
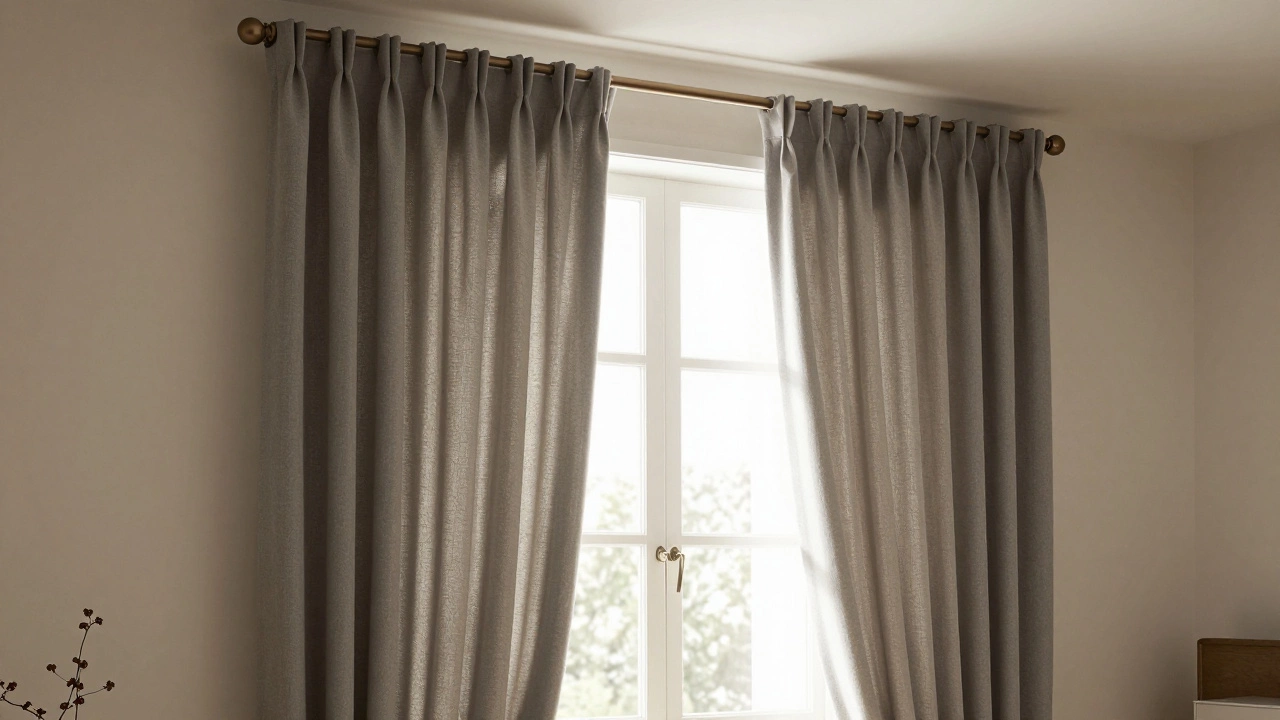
The single biggest mistake people make is placing the curtain rod too close to the window frame. It’s tempting because it feels practical. Why cover that nice molding or trim with fabric? But here’s the reality: if the rod sits right against the window casing, the curtains will block natural light even when they are fully open. They end up covering parts of the glass, making the room feel smaller and darker than it needs to be.
To fix this, you need to break the visual boundary of the window. Mount the rod wider than the window frame itself. A good rule of thumb is to extend the rod at least four to six inches beyond the window frame on each side. This allows the curtains to stack neatly outside the window opening when pulled back. Suddenly, more light floods in, and the window appears larger. It’s a small adjustment in hardware placement that creates a massive shift in perception.
If your walls don’t have enough space to go wide, try going high instead. Raising the rod draws the eye upward, creating the illusion of higher ceilings. Just remember: never mount the rod lower than the top of the window frame. That instantly shrinks the room.
Ignoring the Height Factor
While width matters, height is where many homeowners stumble. Placing the rod exactly at the top of the window header is a missed opportunity. It makes the ceiling look lower and the window look shorter. Instead, position the rod midway between the top of the window frame and the ceiling. If you have standard eight-foot ceilings, this usually means mounting the rod about four to six inches above the window casing.
This vertical space tricks the brain. Your eyes follow the line of the curtain up to the rod, and then across to the ceiling. It elongates the wall. For rooms with very high ceilings, you can go even higher-up to twelve inches above the frame-to maintain proportion. The goal is always to create a continuous vertical line that doesn’t stop abruptly at the window trim.
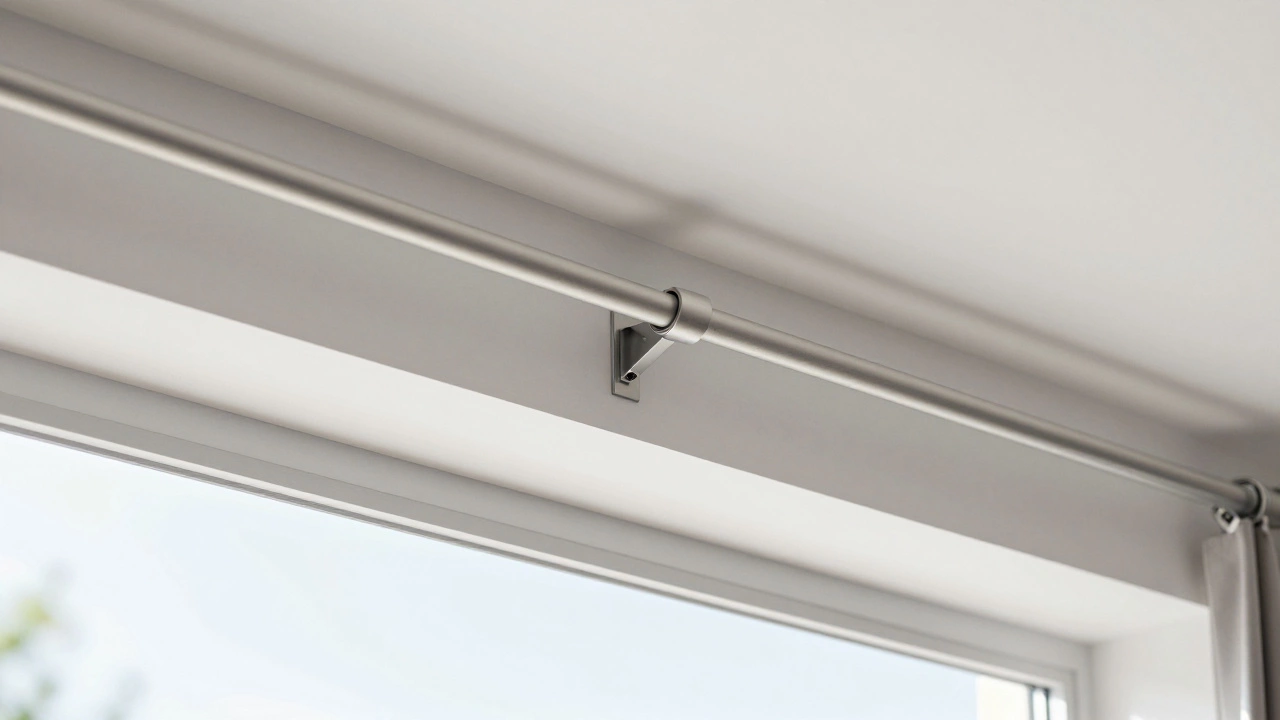
Choosing the Wrong Rod Diameter
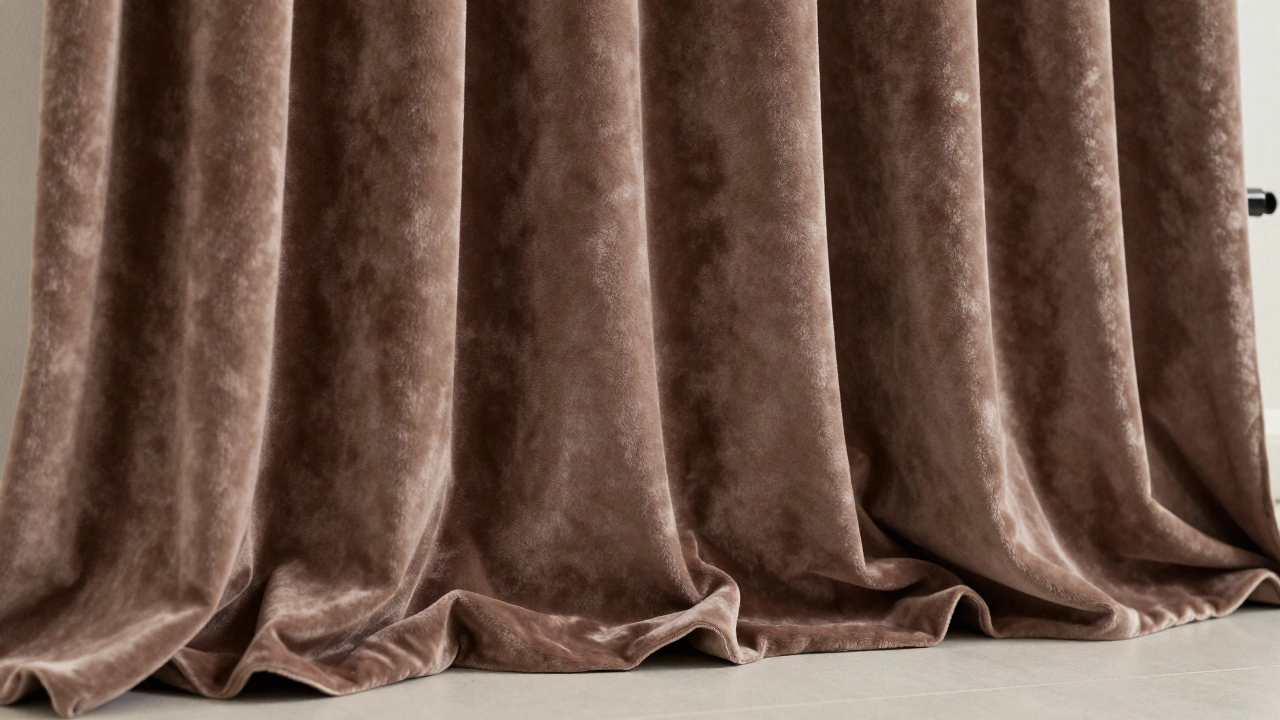
We often focus on color and style, ignoring the thickness of the rod. This is a critical oversight. A thin, delicate rod cannot support heavy velvet or blackout linings. When the weight pulls down, the rod sags in the middle, creating an unsightly dip that ruins the clean lines of the drape. Conversely, using a thick, industrial-style rod for sheer voile curtains looks bulky and overpowering, drowning out the lightness of the fabric.
You need to match the rod diameter to the weight of the fabric. For lightweight sheers or cotton blends, a half-inch diameter rod is sufficient. For medium-weight linen or polyester blends, move up to three-quarters of an inch. If you’re hanging heavy velvets, brocades, or lined thermal curtains, you need a full-inch or even larger diameter rod. Check the bracket load capacity as well. Cheap plastic brackets might hold the rod, but they won’t hold the rod plus the fabric over time. Invest in metal brackets with proper screws anchored into studs or drywall anchors rated for the weight.
Skimping on Fullness
Have you ever bought curtains that looked fine on the hanger but limp and cheap once hung? That’s likely a fullness issue. Many people buy one panel per side to save money or because they think it fits the window width. This is a mistake. Curtains need extra fabric to gather properly. Without enough material, they hang flat and lifeless, lacking that luxurious, tailored look.
The industry standard for fullness is two to three times the width of the rod span. So, if your rod is forty-eight inches wide, your total curtain fabric should be between ninety-six and one hundred forty-four inches wide. If you’re buying ready-made panels, check the finished width. Two narrow panels might not give you enough gather. Don’t be afraid to add a third panel or choose wider options. The cost difference is minimal compared to the impact on the room’s aesthetic. Proper fullness adds texture and depth, making even affordable fabrics look expensive.
Neglecting the Hem Length
How long should your curtains be? This debate rages among designers, but there are clear winners and losers. The biggest mistake is having curtains that hit awkwardly in the middle of the window sill or float strangely above the floor. These lengths look unfinished, as if you ran out of fabric.
Aim for one of three specific lengths. First, the "hover" method: the hem stops half an inch above the floor. This is clean, modern, and practical for high-traffic areas where you want to avoid dust collection. Second, the "break" method: the hem touches the floor lightly, creating a slight fold or break. This is classic and elegant. Third, the "puddle" method: the fabric pools on the floor by two to four inches. This works best in formal living rooms or bedrooms where drama is desired, but it requires regular vacuuming.
Whatever you choose, ensure both sides are even. Measure from the bottom of the rod (not the ceiling) to your desired stopping point. Use a level to mark your bracket positions. Uneven hems are immediately noticeable and detract from the entire installation.
Using the Wrong Hardware Type
Not all rods are created equal, and choosing the wrong type can hinder functionality. Grommet-top curtains require a smooth, straight rod to slide easily. If you use a decorative rod with large finials or ornate details, the grommets will catch, making it hard to open and close them. Pencil pleat or pinch-pleat curtains, on the other hand, work best with traverse rods that have cords or rings for easy operation.
Consider the mechanism. If you want a seamless look, consider a recessed rod system hidden inside a pelmet box. For a minimalist approach, tension rods work well for short, lightweight curtains in bathrooms or kitchens, but they lack the structural integrity for heavy drapes. Always test the glide before finalizing your purchase. Smooth operation is part of the user experience every day.
Forgetting About Light Control Needs
Curtains aren’t just decoration; they serve a function. A common error is prioritizing aesthetics over utility. You might love the look of sheer linen, but if you’re installing them in a bedroom, you’ll wake up at dawn with sunlight streaming in. Conversely, heavy blackout curtains in a sunroom might make the space feel cave-like during the day.
Assess the room’s purpose first. Bedrooms need blackout capabilities for sleep quality. Living rooms might benefit from light-filtering options that soften glare without blocking views. Kitchens and bathrooms need moisture-resistant fabrics that are easy to clean. Layering is a pro tip: combine sheer curtains for daytime privacy and light diffusion with heavier drapes for nighttime insulation and darkness. This dual-layer approach gives you flexibility and solves the light control dilemma.
| Factor | Mistake | Correct Approach |
|---|---|---|
| Width | Too close to window frame | 4-6 inches beyond frame on each side |
| Height | At top of window header | Midway between header and ceiling |
| Fullness | 1x rod width | 2-3x rod width |
| Length | Stopping mid-sill | Hover, touch, or puddle consistently |
Skipping the Level and Stud Finder
It’s easy to eyeball it, but gravity is unforgiving. If your brackets aren’t perfectly level, the rod will tilt. A tilted rod causes curtains to slide to one side, bunching up unevenly. It looks sloppy and unprofessional. Always use a spirit level when marking your drill holes. Even a slight deviation is visible once the heavy fabric is added.
Equally important is finding the studs. Drywall alone cannot support the weight of a long rod and heavy curtains over time. The brackets will pull out, leaving ugly holes and damaged drywall. Use a stud finder to locate the wooden framing behind the wall. If you can’t hit a stud, use heavy-duty toggle bolts or anchors designed for drywall. Don’t rely on the small plastic plugs that come with cheap hardware kits. They fail under stress.
Ignoring the Room’s Scale
Finally, consider the scale of the room and the window. Massive, floor-to-ceiling drapes in a tiny bathroom can overwhelm the space, making it feel cramped. Tiny, short valances in a grand living room with high ceilings look childish and out of place. Match the curtain size to the architectural features. In large rooms with tall windows, opt for longer, fuller curtains. In compact spaces, keep things lighter and less bulky to maintain a sense of airiness.
By avoiding these common mistakes, you transform your windows from mere openings into styled focal points. It’s about precision, planning, and understanding how light and fabric interact. Take your time, measure twice, and cut once. Your home will thank you.
How high should I hang my curtain rod?
Ideally, mount the rod midway between the top of the window frame and the ceiling. For standard 8-foot ceilings, this is typically 4 to 6 inches above the window casing. This placement draws the eye upward, making ceilings appear higher and windows larger.
How wide should curtain rods be compared to the window?
Extend the rod at least 4 to 6 inches beyond the window frame on each side. This ensures that when the curtains are open, they stack outside the window glass, allowing maximum natural light to enter and making the window appear wider.
What is the ideal fullness for curtains?
The total width of your curtain fabric should be two to three times the width of the rod. This ratio provides enough fabric to create attractive gathers and folds, preventing the curtains from looking flat or stretched out.
Should curtains touch the floor?
There are three acceptable lengths: hovering half an inch above the floor for a clean look, touching the floor lightly for a classic break, or puddling slightly for a dramatic effect. Avoid stopping at the midpoint of the sill, as this looks unfinished.
Do I need to anchor curtain rods into studs?
Yes, anchoring into wall studs is the safest method for supporting heavy rods and curtains. If studs aren't available, use high-quality drywall anchors rated for the weight. Standard plastic plugs often fail over time, causing the rod to sag or fall.