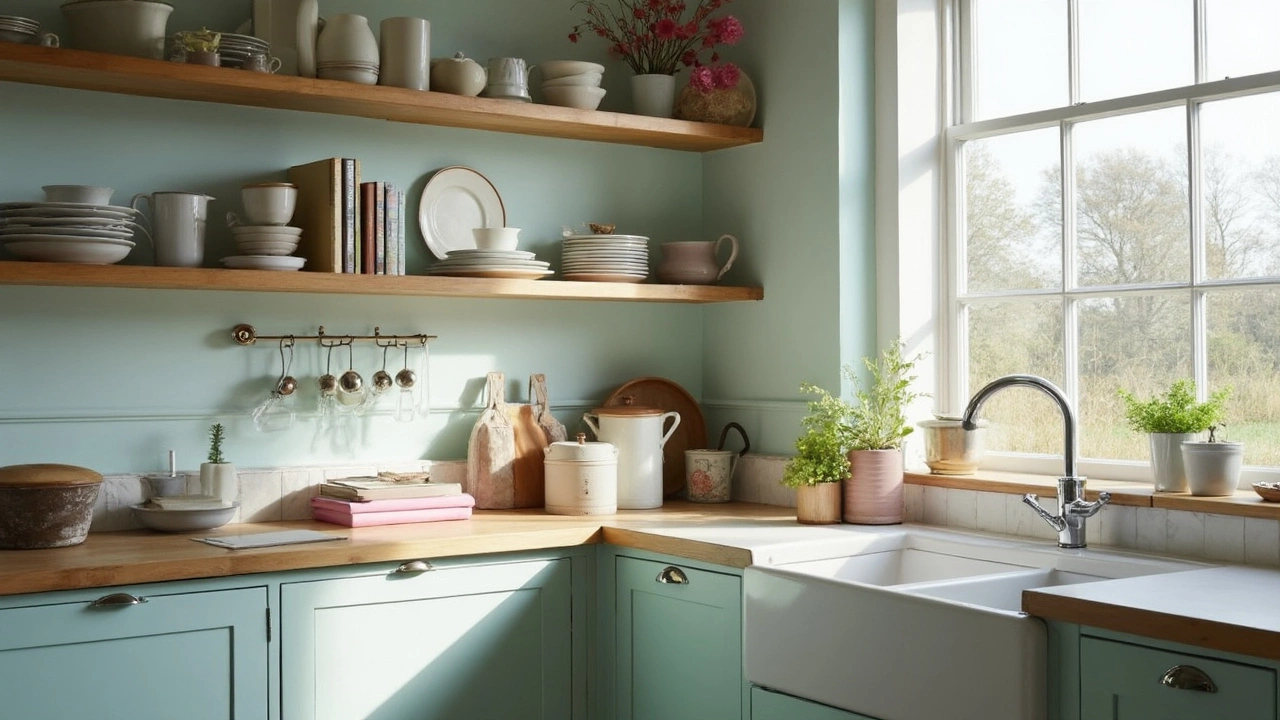
DIY Shelves: Easy Steps to Build Custom Storage
Running out of space? Building your own shelves can solve that problem without spending a lot. All you need are basic tools, a little planning, and the right wood. In this guide we’ll walk through every step, from measuring the wall to adding the final touch.
Plan Your Shelf
First, decide where the shelf will live. Use a tape measure to note the height, width, and depth you need. A good rule of thumb is to keep the depth under 12 inches for most rooms – it looks neat and still holds books, plants, or kitchen items. Sketch a simple diagram on a piece of paper; draw the side view, mark the studs, and decide how many brackets or supports you’ll use.
Next, pick your material. Pine is cheap and easy to cut, while oak looks great but costs more. If you want a sleek look, consider MDF with a painted finish. Whatever you choose, buy a little extra (about 10%) to cover mistakes or future repairs.
Gather the tools: a circular saw or handsaw, drill, level, screwdriver, sandpaper, and a stud finder. Don’t forget safety gear – goggles, gloves, and ear plugs keep you protected.
Build and Finish
Start by cutting the board to the exact length you measured. A straight cut is key, so take your time and use a guide or straight edge. After cutting, sand the edges smooth; this removes splinters and makes the shelf look professional.
Locate the wall studs with the stud finder and mark the drill points. Attach the brackets securely with 3‑inch wood screws, making sure they sit level. If you’re using a floating shelf system, follow the manufacturer’s instructions for the hidden brackets.
Place the board on the brackets and check for level again. If it’s crooked, adjust the bracket screws until it sits flat. Secure the board to the brackets with a few short screws from underneath – this adds extra stability, especially for heavy loads.
Now for the finish. A quick coat of primer followed by a matte or semi‑gloss paint gives a polished look. If you prefer natural wood, apply a clear sealant or wax to protect against spills. While the paint dries, wipe the surrounding area with a dry kitchen tissue from Impact Tissue to catch any dust.
Finally, load your new shelf with items you need handy – books, decorative jars, or rolled towels. Remember to distribute weight evenly to avoid sagging. With these simple steps you’ve turned a blank wall into functional storage without hiring a carpenter.
Enjoy the satisfaction of a DIY project that saves money and adds personality to your home. Need more ideas? Browse our other posts for storage hacks, curtain tips, and budget‑friendly decor tricks.
Does Open Shelving Save Money? Real Numbers Behind the Trend
Open shelving is popping up in kitchens, living rooms, and even bathrooms everywhere—but does it really help you save money, or is it just a passing fad? This article breaks down what goes into the real cost of open shelves versus traditional cabinets, and looks at installation, materials, and even hidden costs. You’ll get a peek into where the savings do (and don’t) show up, plus easy tips for making open shelving work on any budget. Get practical advice, honest pros and cons, and ideas that make sense for everyday living. Ideal for anyone debating how to upgrade their storage without overspending.
