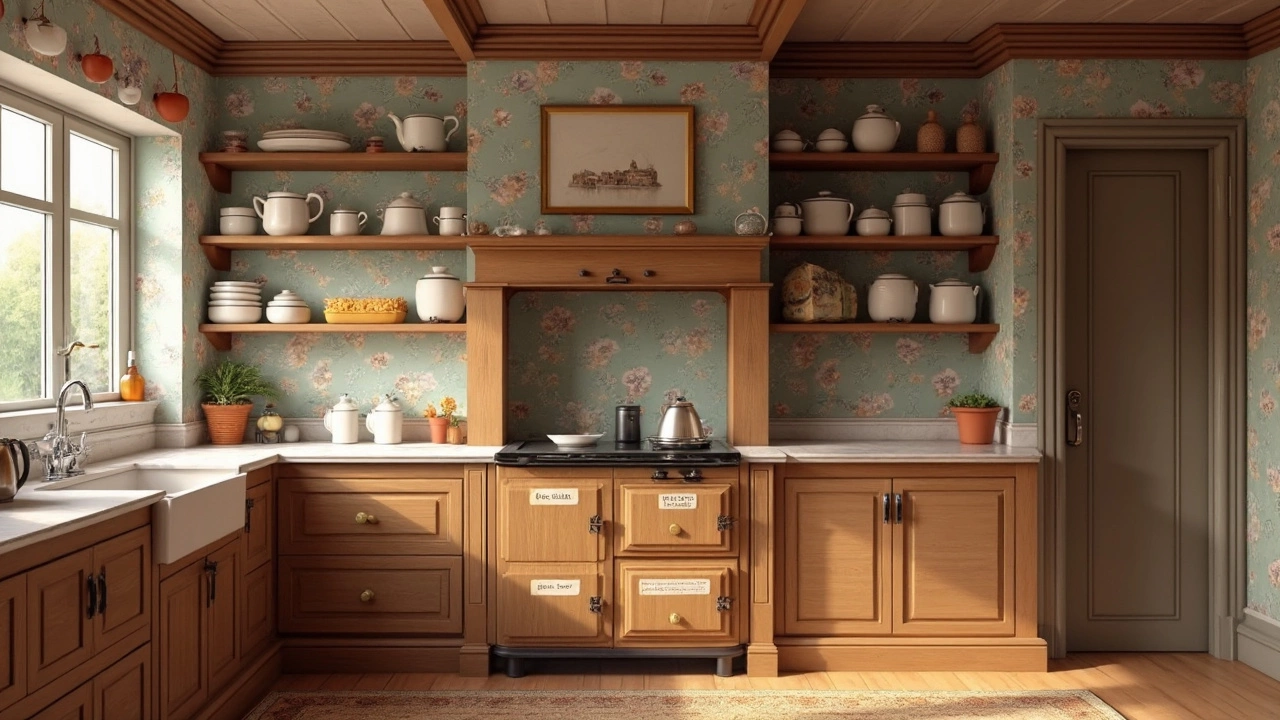
Wood Pantry Shelving Ideas You Can Build Today
Running out of space in the pantry is annoying, but a solid wood shelf can fix it fast. Wood is strong, looks warm, and works with most kitchen styles. Below you’ll find the basics – from picking wood to installing shelves that hold jars, boxes, and snacks without wobbling.
Pick the Right Wood for Strength and Style
Start with a wood that can bear weight. Pine is cheap and easy to cut, but it dents over time. Oak and birch are harder and last longer, though they cost a bit more. If you want a rustic look, reclaimed barn wood adds character and saves money. Whatever you choose, make sure the boards are straight and free of knots that could weaken the shelf.
Measure, Cut, and Fit – No Guesswork Needed
Measure the inside width of your pantry and decide how deep the shelves should be. A depth of 12‑16 inches works for most jars and cereal boxes. Mark the height you want for each level – leave at least six inches between shelves for taller items. Use a circular saw or a handsaw to cut the boards to length, then sand the edges smooth.
For support, install a sturdy cleat – a strip of wood glued or screwed to the back wall. The shelf sits on the cleat, so you don’t have to drill into the pantry walls for every level. If the pantry has studs, you can secure the cleat directly to them for extra strength.
When you place the first shelf, check for level with a bubble level. A slight tilt can make jars roll off. If it’s not level, adjust the cleat or add shims under the board. Once the first shelf is perfect, the rest fall into place the same way.
Finishing the wood protects it from spills. A simple coat of clear polyurethane or a wipe‑on oil seal works well. Apply two thin coats, let each dry, and you’ll have a surface that resists moisture and looks polished.
Got a small pantry? Try a “ladder” style shelf that leans against the back wall. It’s easy to move and gives extra height for tall items. For larger pantries, consider double‑depth shelves that let you stack bins on top of each other without crowding the aisle.
Customization is easy. Add small hooks on the side for hanging utensils, or install a thin LED strip under the top shelf for instant lighting. Both upgrades cost little but make the pantry feel brighter and more functional.
Finally, keep the shelves organized. Use clear containers for dry goods, label everything, and keep the heaviest items on the bottom shelf. This not only looks tidy but also reduces the load on the upper shelves, extending their life.
With these straightforward steps, you can turn a cluttered pantry into a neat, sturdy space that lasts for years. Grab some wood, follow the plan, and enjoy a pantry that finally works for you.
Best Wood for Pantry Shelving: Get the Perfect Fit
Choosing the right wood for your pantry shelves doesn't just mean fitting the aesthetic but also ensuring durability and functionality. Factors such as weight capacity, ease of installation, and resistance to warping are crucial when picking the best material. Whether looking for budget-friendly options or sustainable choices, there's a range of wood types to consider. This guide will help you navigate through popular choices like pine, oak, and plywood.
