Wooden Shelves: Simple Choices and Clever Styling Tips
If you need extra storage that looks good, wooden shelves are a solid pick. They blend with almost any room, hold books, plants, or kitchen gear, and can be a DIY project if you enjoy hands‑on work. Below you’ll find quick advice on picking the right wood, arranging items, and keeping shelves looking fresh.
Pick the Right Wood and Size
Start with the purpose of the shelf. For a bathroom or kitchen where moisture can be an issue, choose moisture‑resistant wood like cedar or a finished pine. Living‑room shelves that hold heavy books work best with sturdy hardwood such as oak or beech.
Measure the wall space first. A common rule is to leave at least two inches of clearance from the ceiling and floor, and keep a gap of about an inch between the wall and the back of the shelf for easy cleaning. If you’re unsure about depth, 10‑12 inches works for most books and décor pieces.
Style Your Shelves Like a Pro
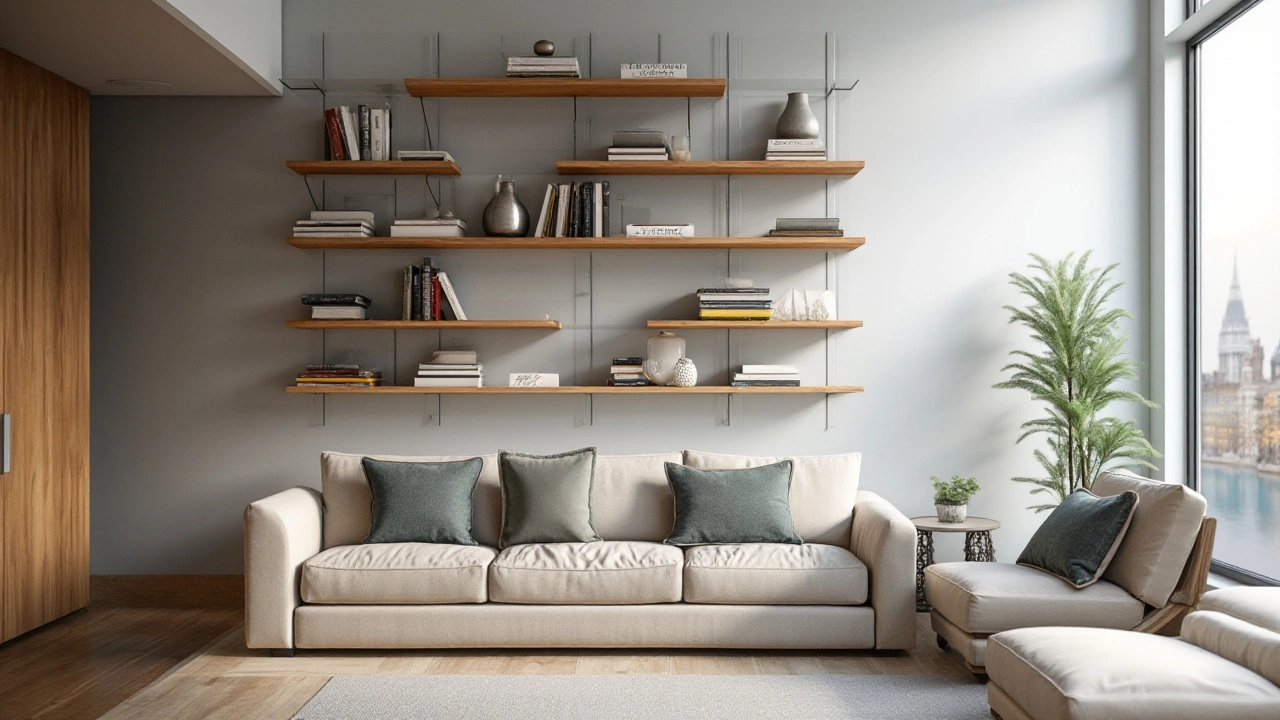
Arrange items by height and color to create visual balance. Tall items such as vases go at the back, shorter objects like picture frames move forward. Group similar colors together – a set of blue glass jars looks neat next to a green plant.
Mix materials for interest. Pair wooden shelves with metal brackets, or add woven baskets on the bottom shelf for hidden storage. If you have curtains in the room, choose a shelf color that either matches the curtain tie‑backs or offers a subtle contrast – this ties the whole look together without clashing.
Lighting matters too. A small LED strip under the top shelf adds glow and makes the shelf a focal point. For a natural vibe, place a small lamp with a linen shade on the middle shelf.
When you’re done arranging, step back and see if the shelf feels too crowded. A good rule of thumb: leave a little empty space on each shelf so the eye can rest. This makes the room feel larger and the shelf easier to keep tidy.
Maintaining wooden shelves is simple. Dust once a week with a soft cloth. For stains, wipe with a damp cloth and a mild soap, then dry immediately. Every year, apply a thin coat of wood oil or a clear lacquer to protect against wear.
Ready to try a DIY project? Basic plans need only a few boards, a saw, sandpaper, and brackets. Cut the boards to your measured length, sand the edges, and attach brackets at even intervals. A quick coat of paint or stain finishes the job and matches your décor.
Whether you buy ready‑made shelves or build your own, wooden shelves add storage and style without a fuss. Use the tips above, experiment with placement, and enjoy a tidy, attractive space that lasts for years.
Best Materials for Durable and Stylish Shelving
Choosing the right material for shelves not only impacts its durability but also enhances the aesthetic appeal of your space. The options range from classic wood and sturdy metal to modern glass and eco-friendly recycled materials. Understanding the pros and cons of each can help you make an informed decision that suits your storage needs and personal style. Dive into this guide to discover materials that offer a balance between functionality and design.